AR Invoice Import via FBDI in OIC
In this Blog we are going to see how we can bulk Import AR Invoices in Oracle ERP Cloud by leveraging the FBDI capabilities of OIC.
But before we go forward with the actual integration there are few prerequisites:
Download FBDI Template from the below link:
https://docs.oracle.com/en/cloud/saas/financials/23b/oefbf/autoinvoiceimport-3111.html#u30240276
Get the Job definition and package name from your fusion instance
Step1: Login to Fusion and Create an AR Invoice
From the Home page of your Fusion Instance click on the Navigation button and Scroll down to My Enterprise and select ‘Setup and Maintenance’
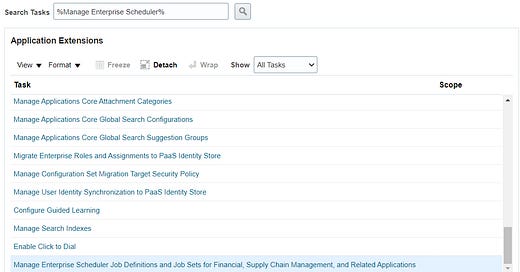
Step2: Search for “%Manage Enterprise Scheduler%” in search tasks and select ‘Manage Enterprise Scheduler Job Definitions and Job Sets for Financial, Supply Chain Management, and Related Applications’
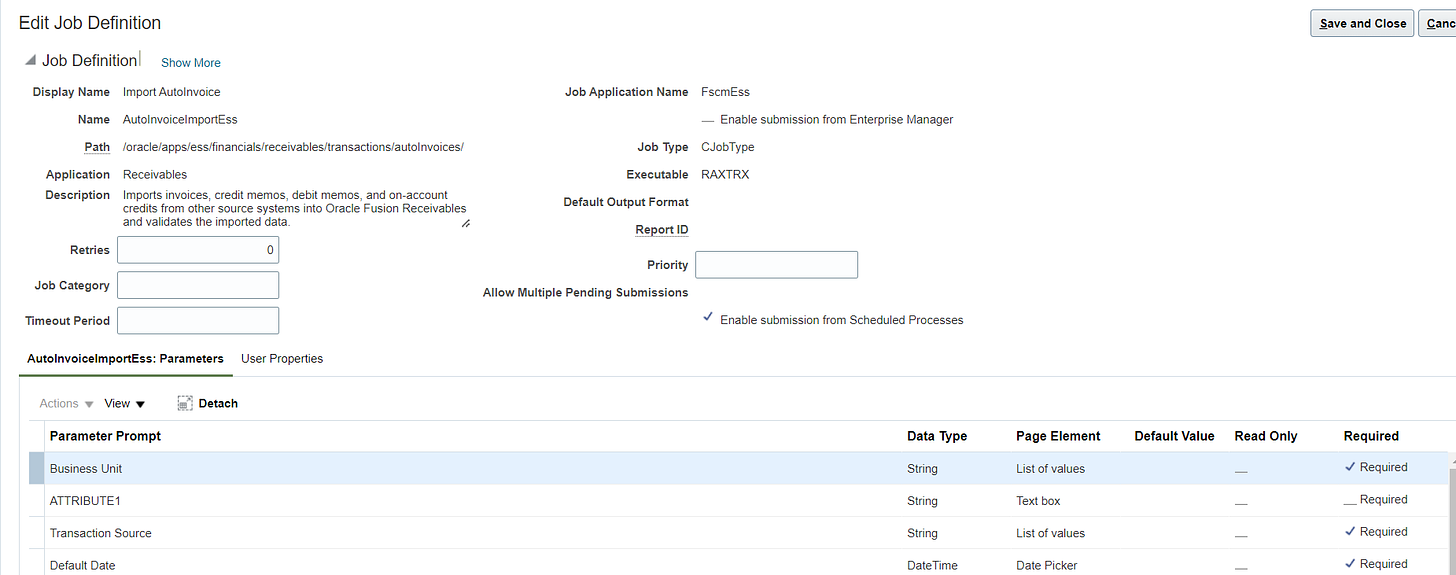
Step3: Search for ‘%AutoInvoice%’ and select ‘Import AutoInvoice’ job and click on edit icon
Step4: From the Job definition page the Path will be the Job package and Name will be Job Name
Now lets start with the actual integration:
Step1: Create an Oracle ERP Cloud adapter and name it “CONN_ERP” as Trigger and Invoke
Configure the below details in the adapter
ERP Cloud Host: https://<fusion-instance>/
Security Policy: Username Password Token
Username: <Fusion User>
Password: <Fusion Password>
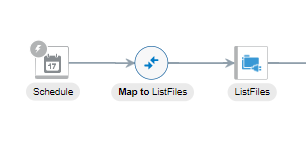
Step2: Now we will create an Scheduled Integration called “ARInvoiceFBDI” which will poll for AR invoice files placed in sFTP server and convert it to FBDI format and send it to ERPC.
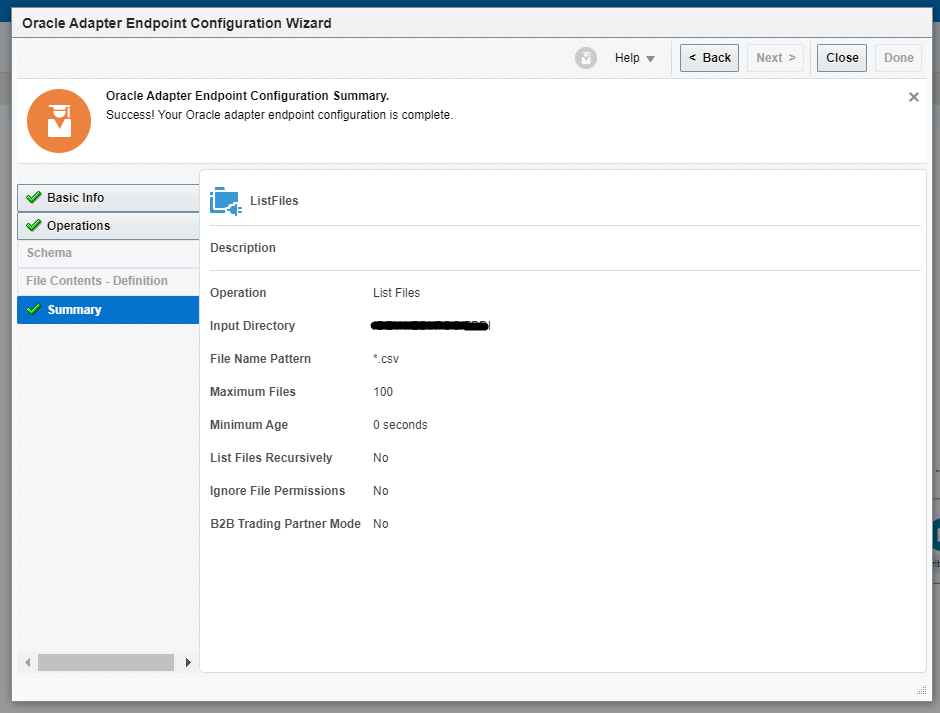
Step3: Add the FTP adapter of your source and select the list file Operation, specify the directory in which the Invoice Extracts will be placed
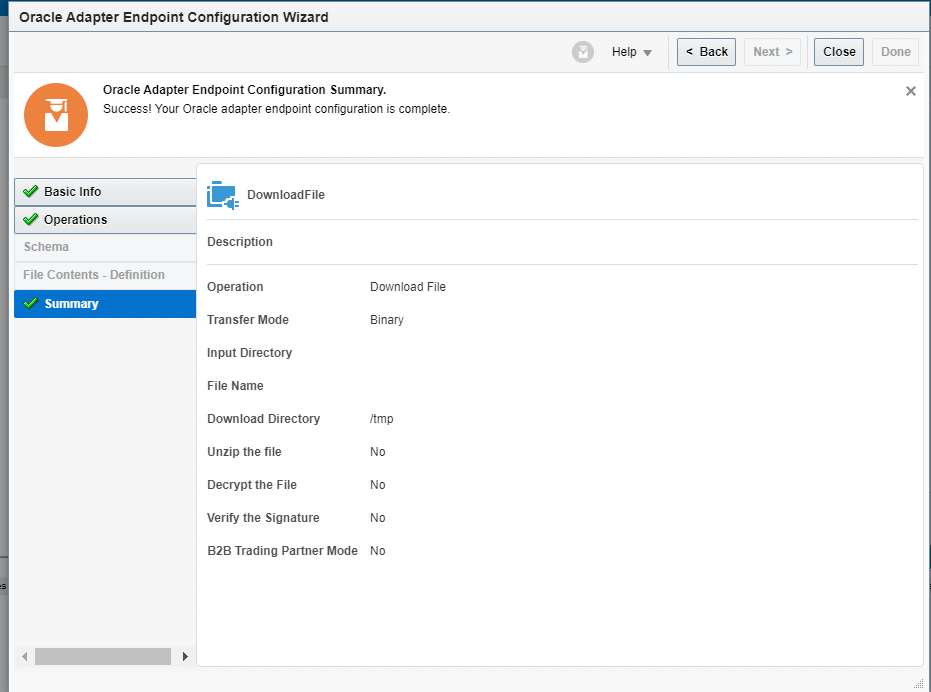
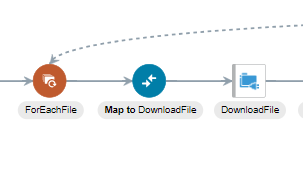
Step4: Add a For Each Loop and Iterate over the response received from the list file operation, inside the for-each add the FTP adapter and select the Download File Operation and download the file to a stage directory called ‘/tmp’
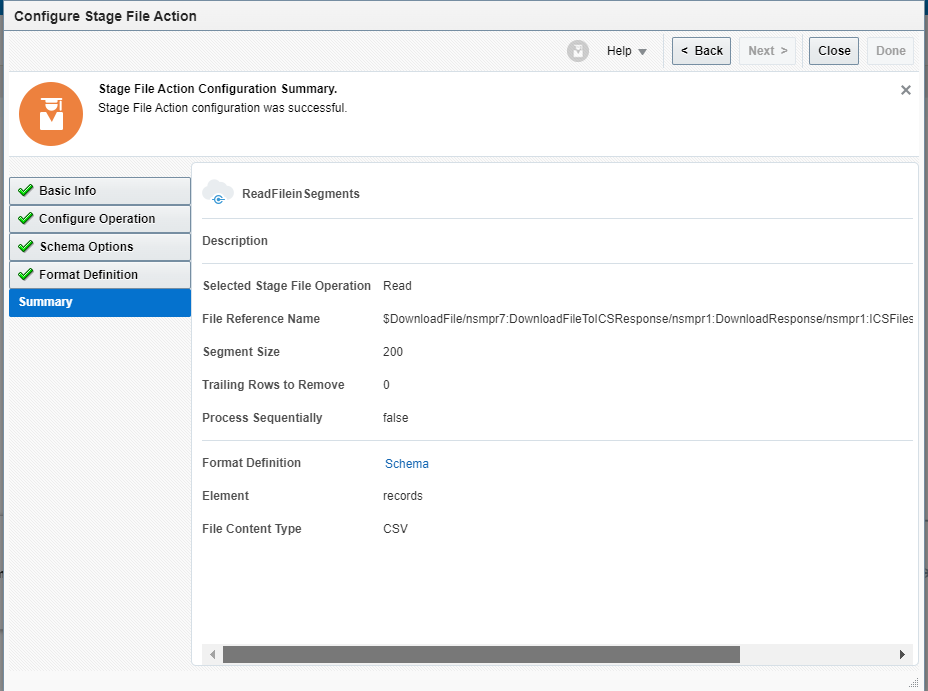
Step5: After the Download File add Stage file Activity and Select the Read File in Segments operation and specify the structure of the file you received in your FTP Server.
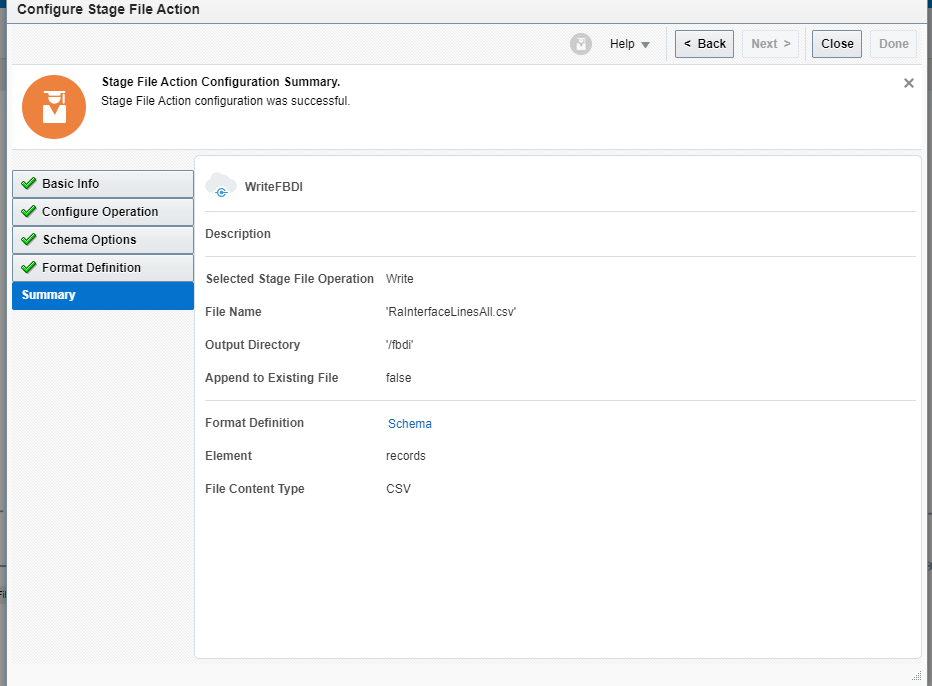
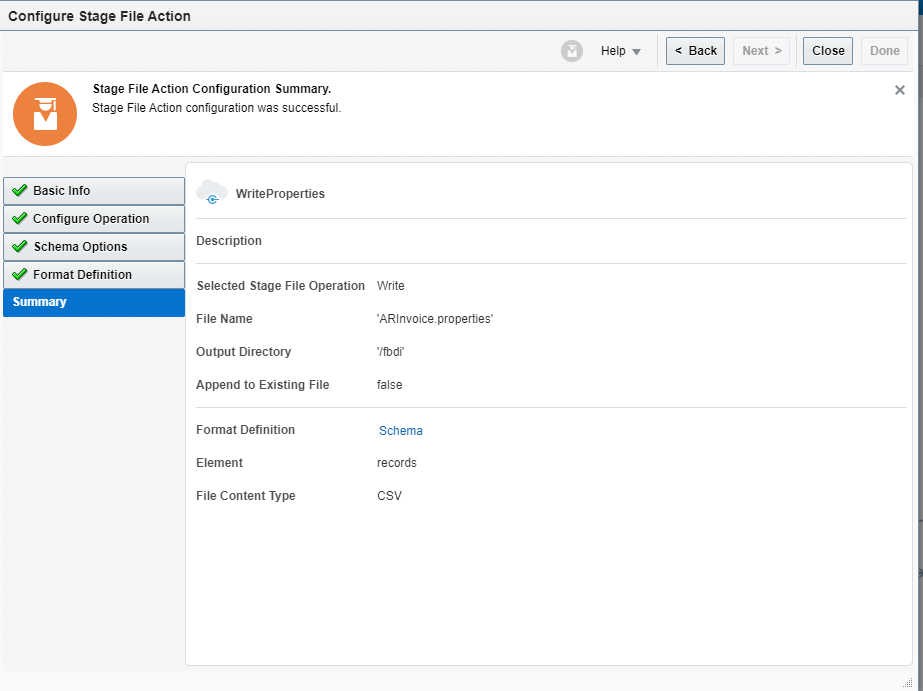
Step6: Inside the Read File in Segments add another Stage File activity and select the Write File Operation here, specify the directory as ‘/fbdi’ and specify the structure of the file as the FBDI template you downloaded from the Oracle Website and Map the fields accordingly.
Step7: Now we will add another Stage File activity with the Write File Operation and specify the directory as ‘/fbdi’ and the structure will be as below:
<job package name>,<job definition name>,<zip file prefix>,<Param1>,<Param2>,<Param3>,<Param4>,<Param5>,<Param6>,<Param7>,<Param8>,<Param9>,<Param10>,<Param11>,<Param12>,<Param13>,<Param14>,<Param15>,<Param16>,<Param17>,<Param18>,<Param19>,<Param20>,<Param21>,<Param22>,<Param23>,<Param24>Here job package name as the job path and job definition name as job name, zip prefix will be the prefix of the zip file we will create.
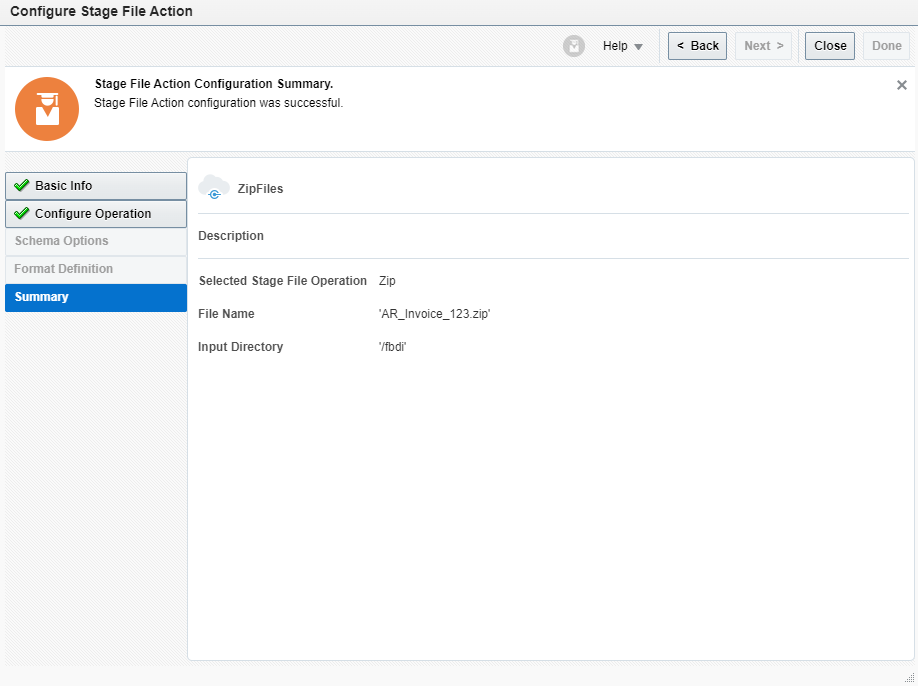
Step8: After that we will add another stage file activity and this time we will select the zip file operation and zip the ‘/fbdi’ directory
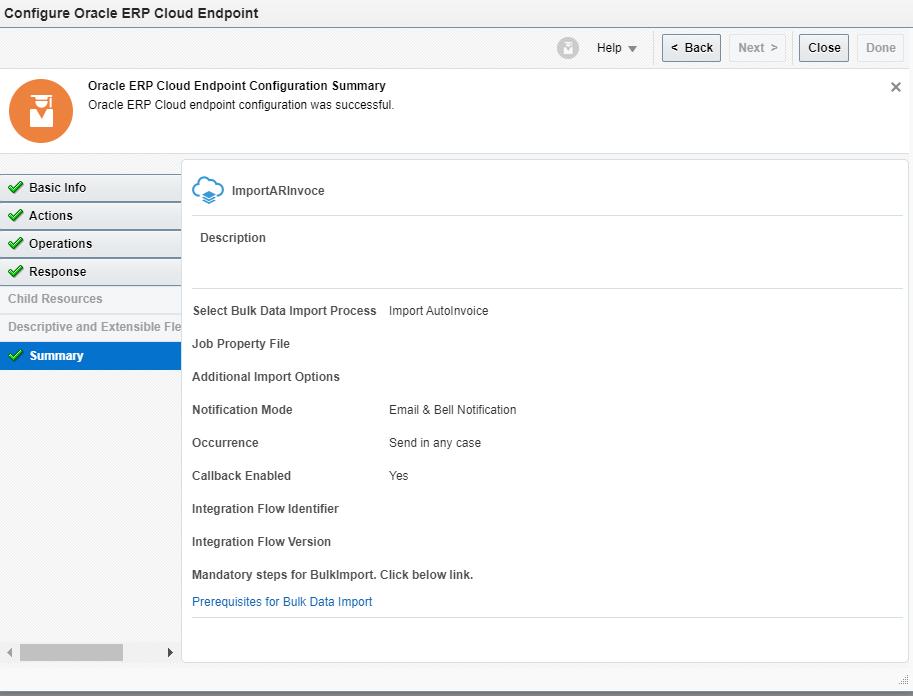
Step9: Add the ERP adapter you have created and select the ‘Import Bulk Data into Oracle ERP Cloud’ operation and select ‘Import AutoInvoice’ option.
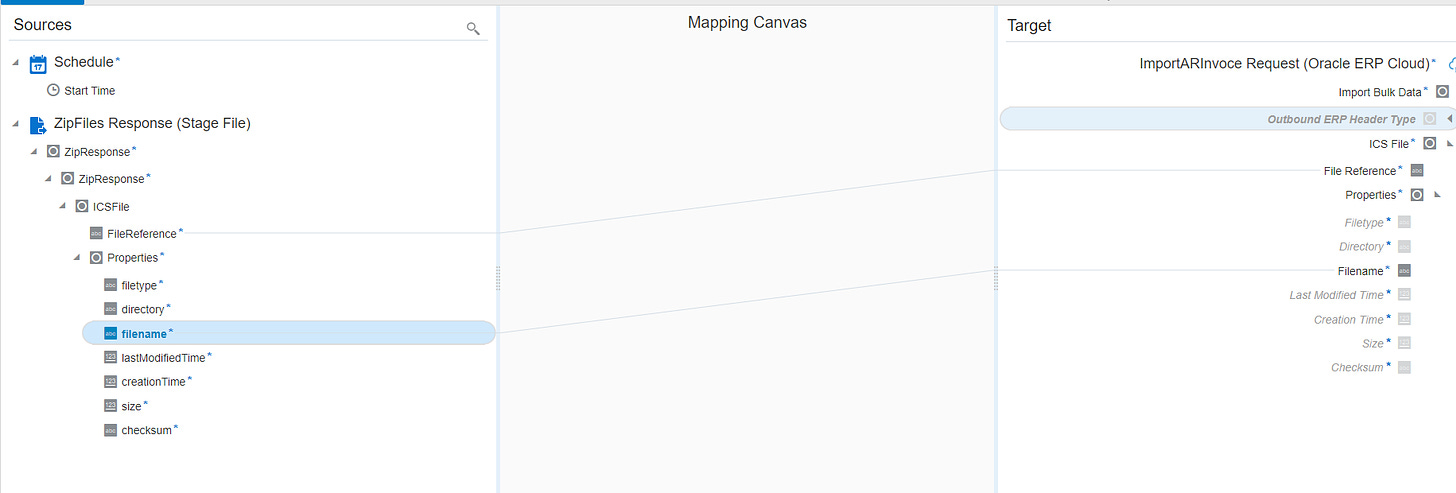
Step10: Map the File Reference of Zip Activity to the Import AutoInvoice operation.
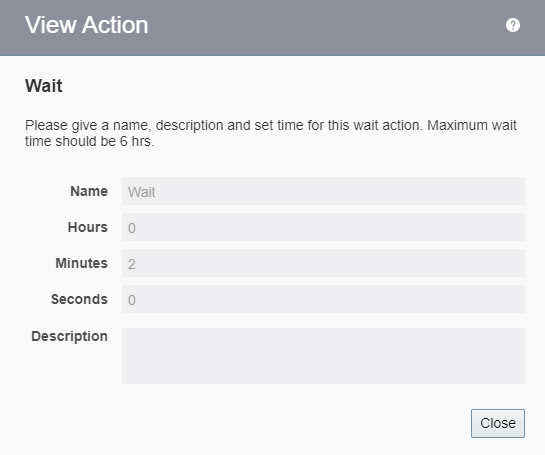
Step11: Add a Wait Activity of 2 mins after ERPC Adapter as the Bulk Upload can take time.
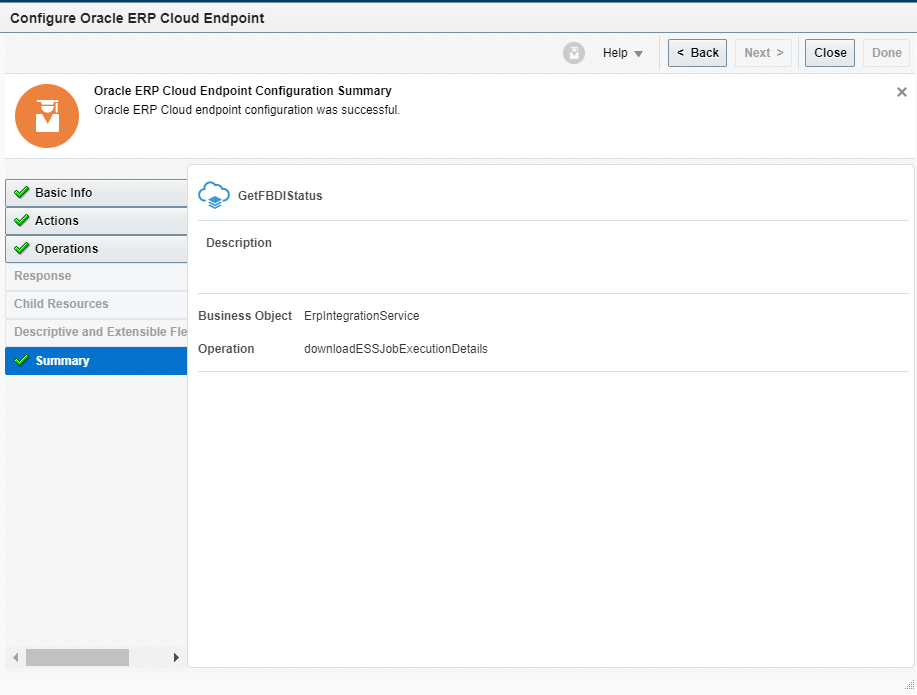
Step12: Add another ERPC adapter and this time select ‘Query, Create, Update or Delete Information’ operation, select browse by service and select ‘ErpIntegrationService’ and in operation select ‘downloadESSJobExecutionDetails’.
Step13: Map the Job ID returned from Bulk Upload process with the Query adapter

